Would you like to know how to do a mattress stitch seam in knitting? This is a step by step guide to joining two stockinette knitted pieces together with the invisible seam method: mattress stitch.
Mattress stitch is the best seaming technique for doing a vertical seam on two pieces of knitted fabric.
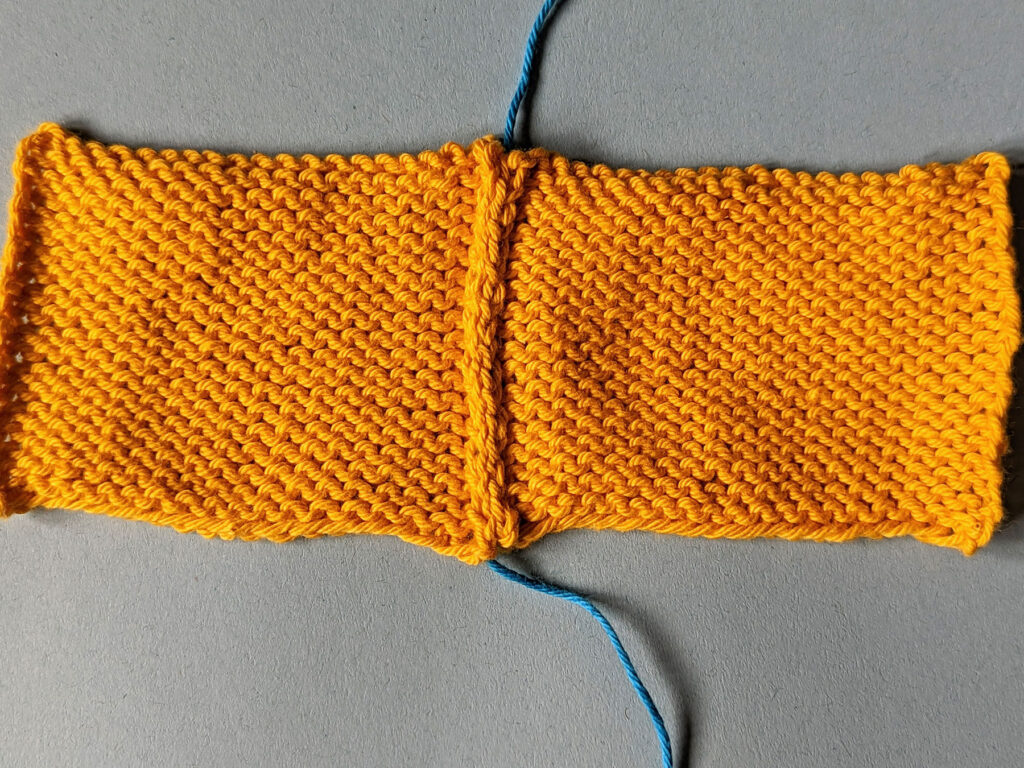
Note, I am using a contrasting colour but you will want to use the same or similar colour yarn to do the seaming.
Step 1: Preparing to mattress stitch
Thread your needle with the cast on tail or a length of yarn. You will want the yarn you use to seam with to be about twice the length of the seam.
Lay the two pieces you are seaming next to each other with the right sides of the fabric facing outwards.
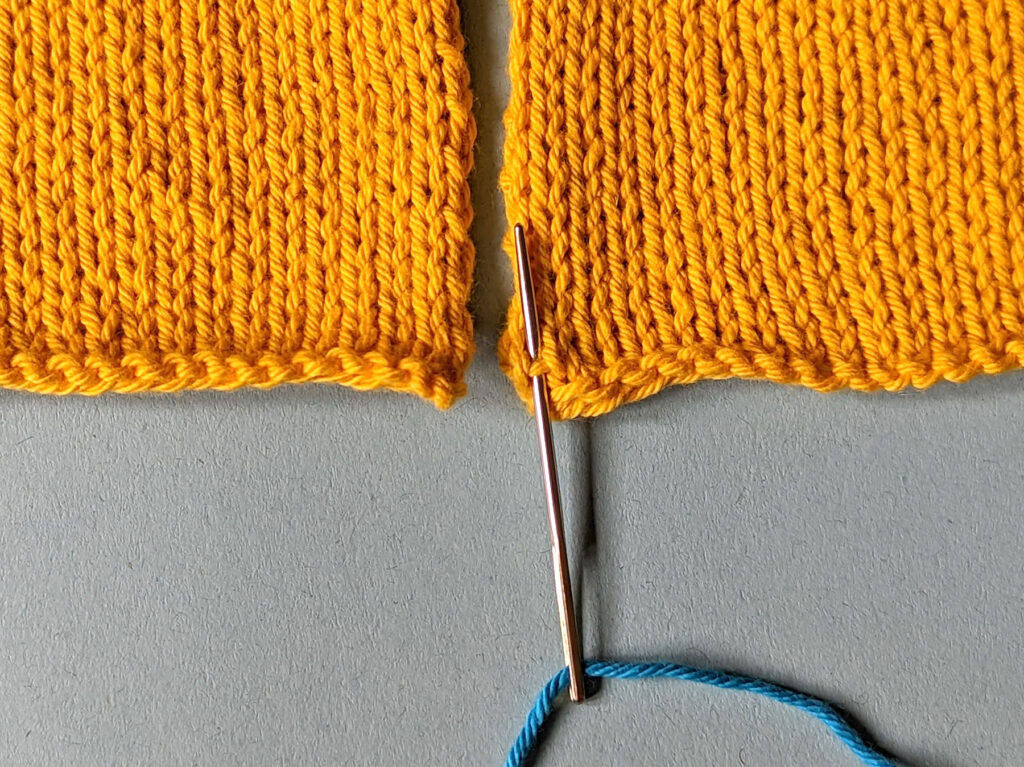
Identify the first column of stitches on both sides of your fabric.
We are going to be working with the horizontal bars in between the stitches seen below when you stretch the fabric out.
Step 2: Start seaming
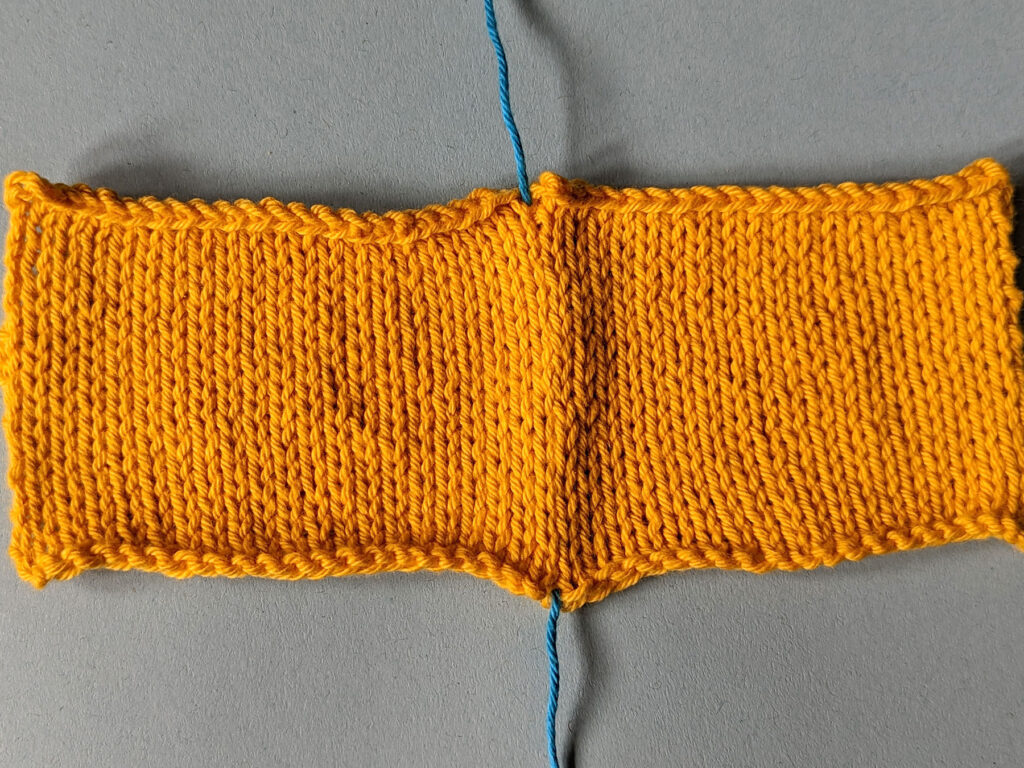
Go underneath the first bar on one of the sides you are seaming (you can start stitching the seam on the right or left side) and pull through your yarn. Leave a tail of 15cm / 6in to weave into your fabric later if you aren’t using the cast on tail.
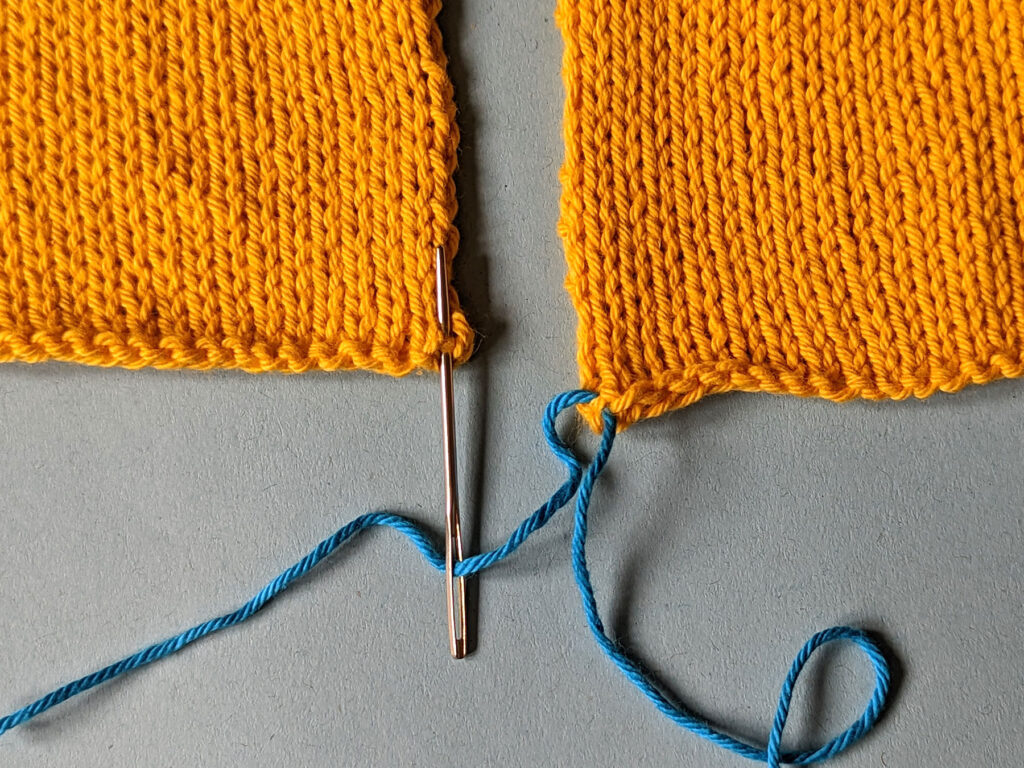
Step 3: Join the two pieces of fabric
Repeat the same on the opposite side by going under the first bar and pulling through your yarn.
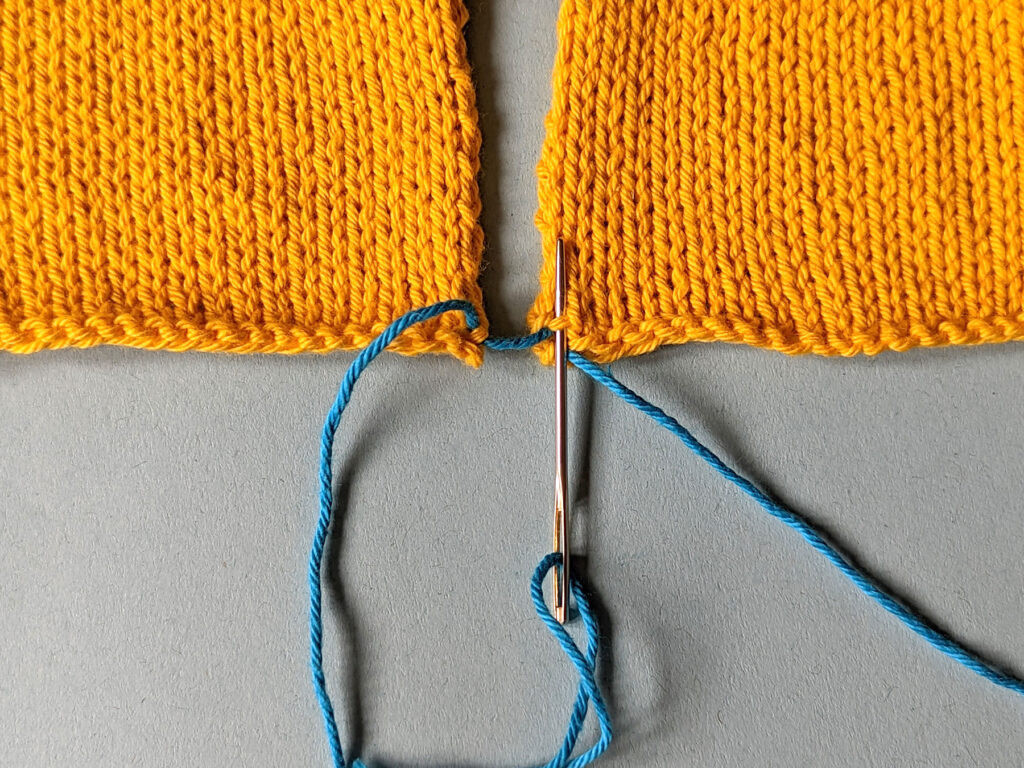
Step 4: Repeat the alternating stitching
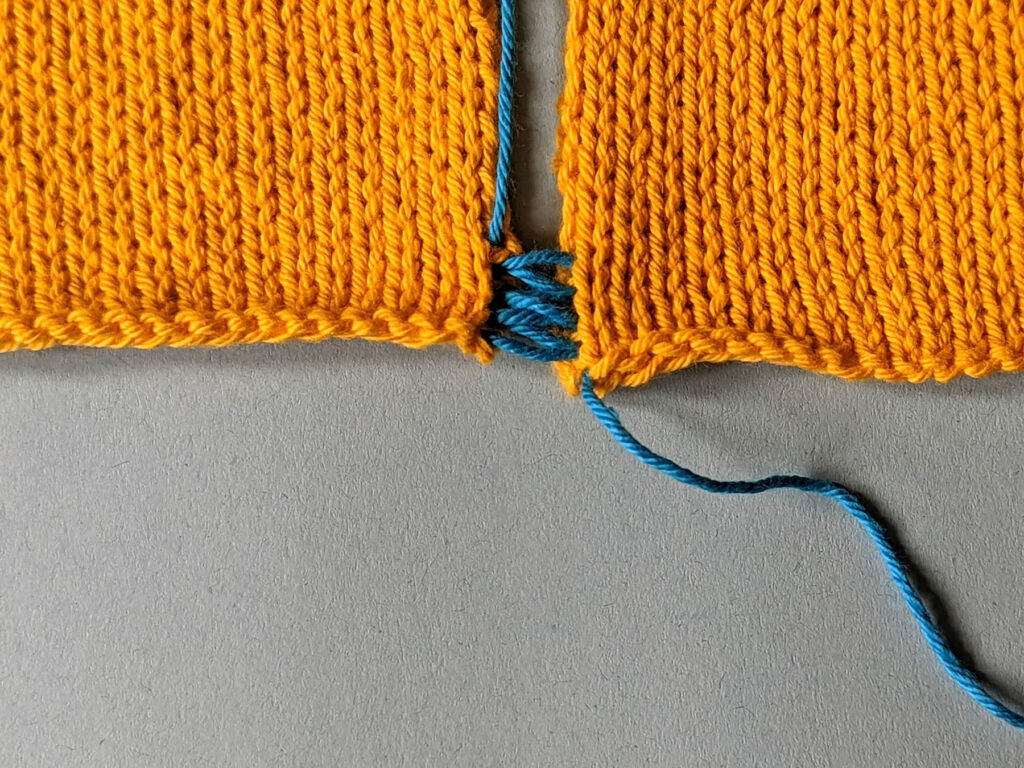
Repeat steps 2 and 3 by going under the next bar on the side you started your seam and then going under the next corresponding bar on the opposite side.
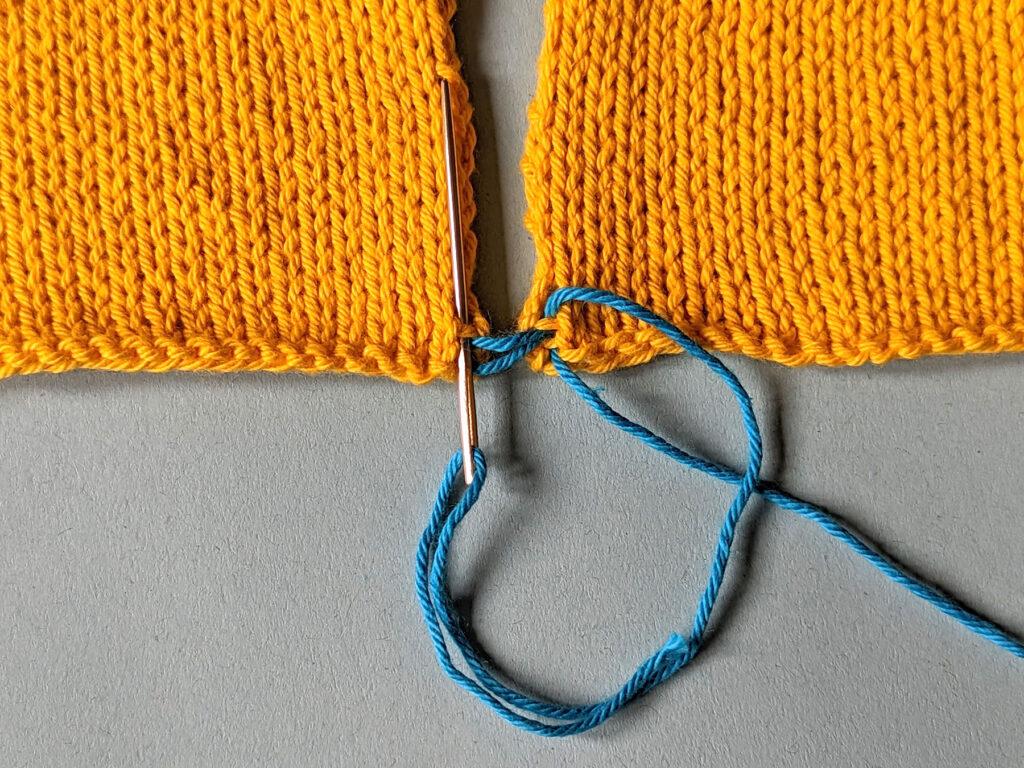
Step 5: Tighten seam after every few stitches
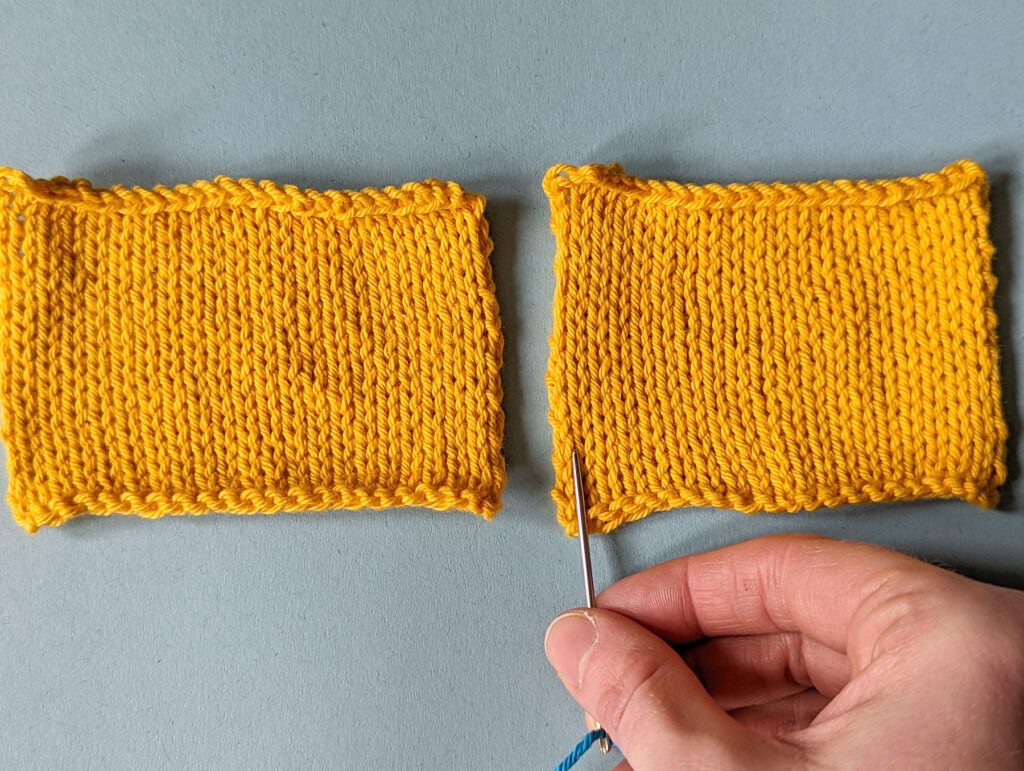
Once you have stitched under the bars of a few rows, pull on your working yarn to close the seam. Don’t pull too tight to avoid getting a distorted seam.
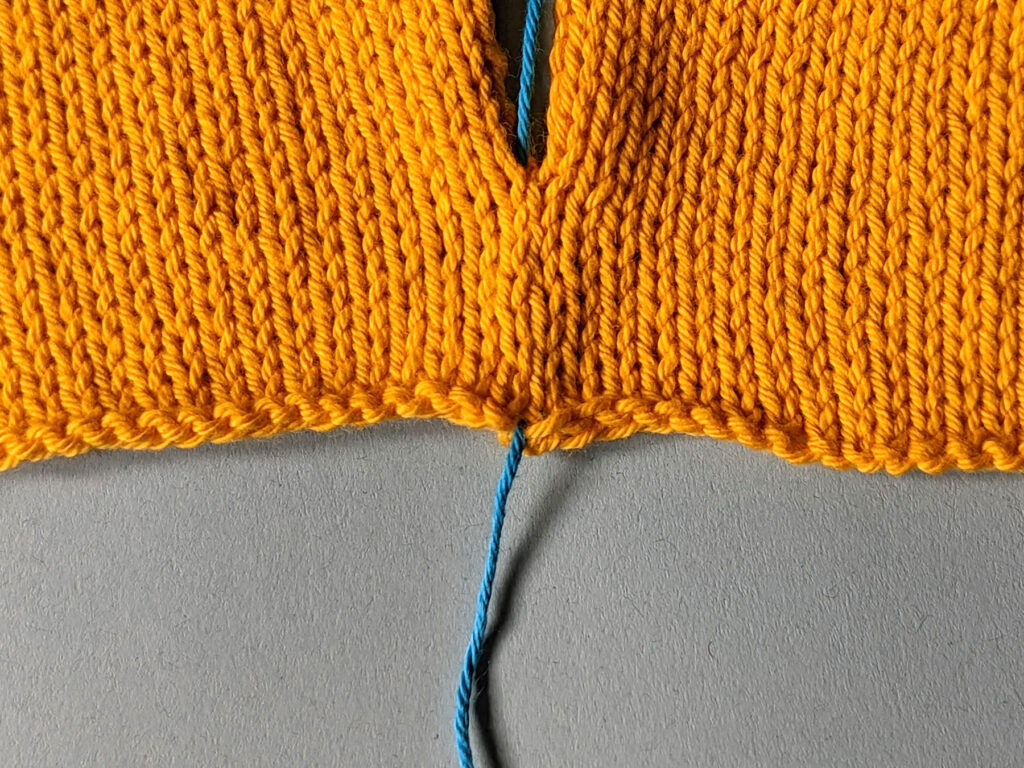
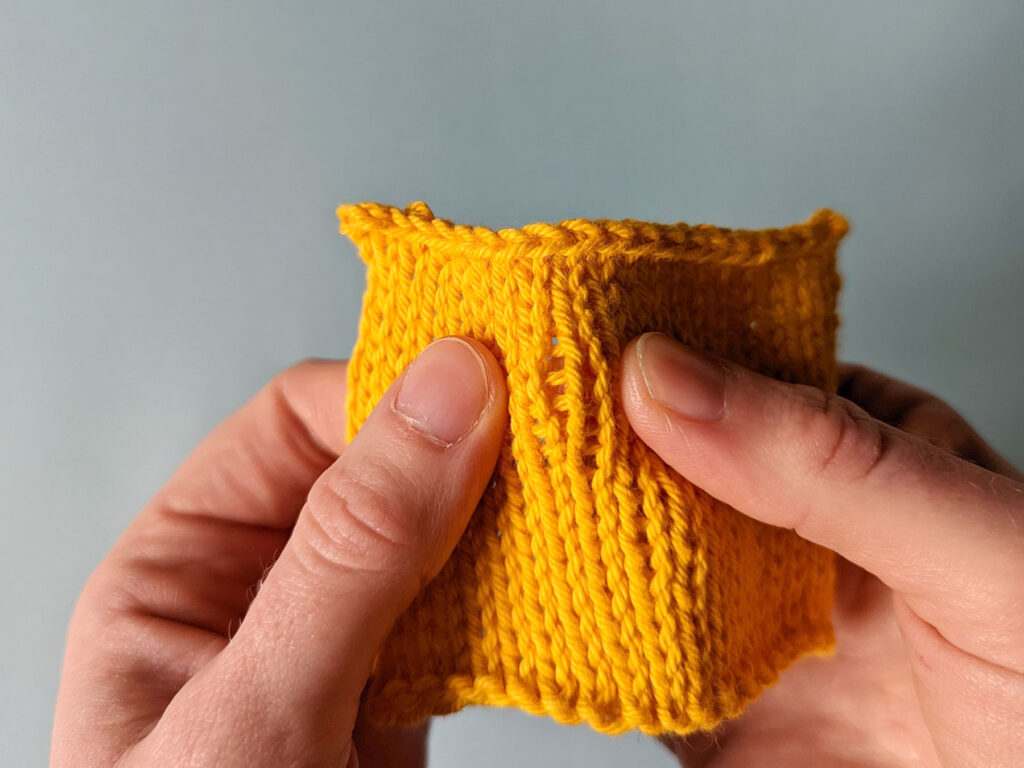
On the wrong side of the fabric you will get a seam showing: