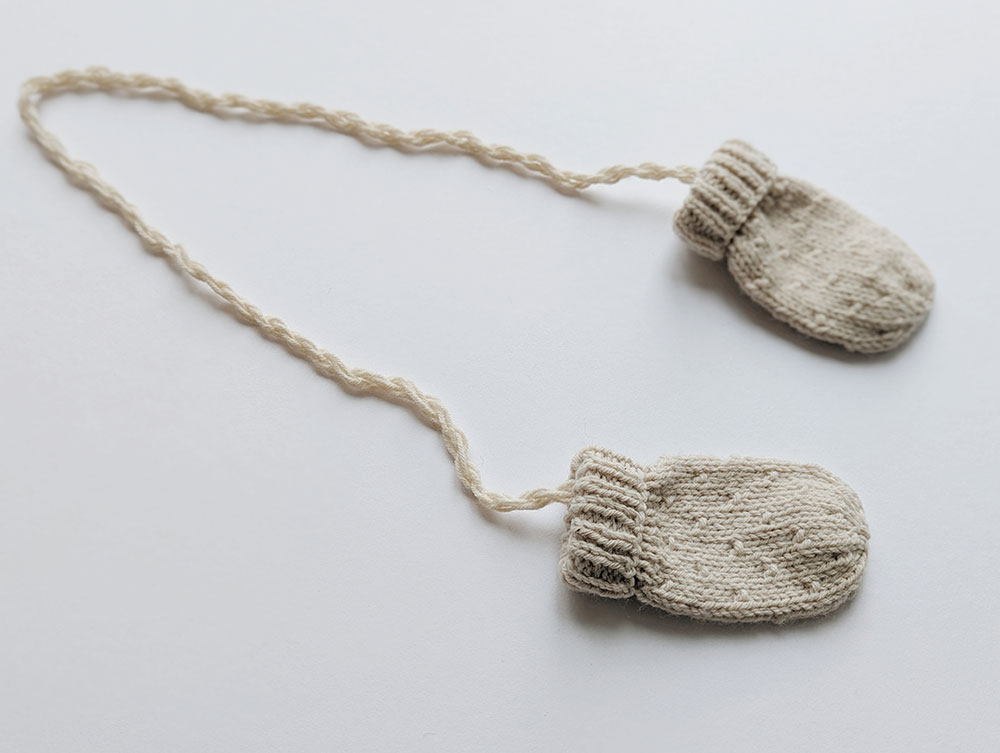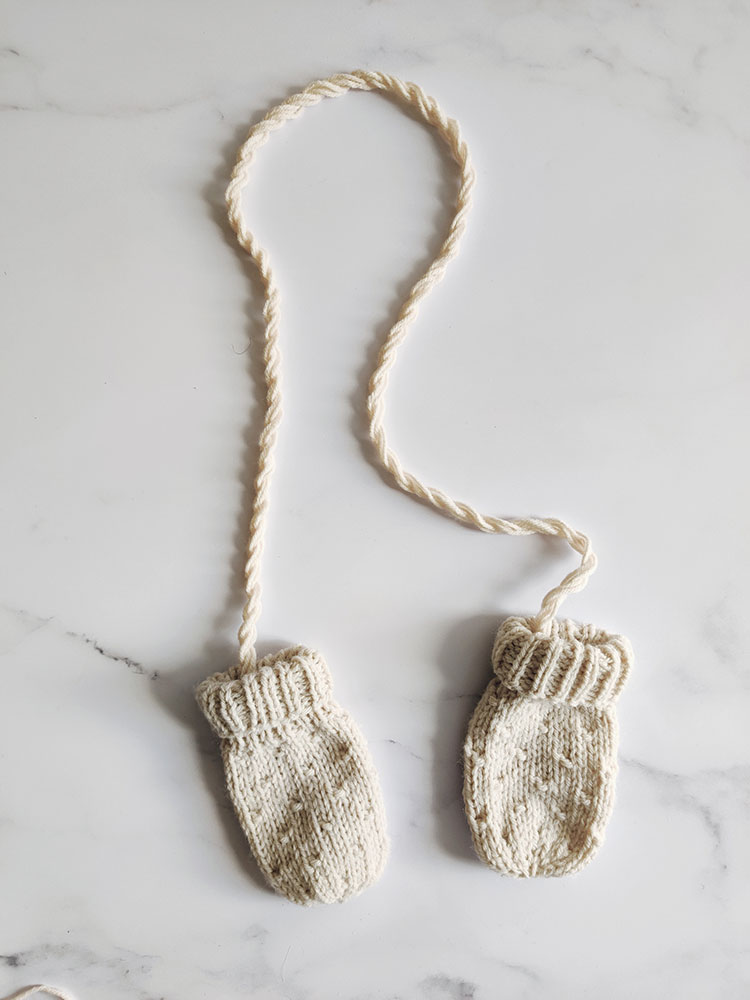
Let me show you how to make a quick, no knit mitten minder so the mittens you spent time knitting a baby will never go missing.
Typically, when you see a knitting pattern feature a cord or tie of some kind it often requires you to knit an i-cord. I love i-cords but they can take a bit of time to make. So this one is for all the time-poor parents and grandparents.
I’ve used the twisted cord here on my Broadstairs Dot mittens knitting pattern. If you’re after a super simple mittens pattern suitable for beginners, try my Confetti Baby Mittens knitting pattern. The twisted cord can be used on lots of other knitted items, including a bag strap or to replace an i-cord on a baby’s bonnet such as my Angus Baby Bonnet.

Supplies for making a twisted cord
There’s no special tools required here. You will need:
- Yarn – I’m using Paintbox Yarns Baby DK in Vanilla Cream.
- A pair of knitting needles in any size but you could replace these with pencils or even sticks.
How to make a twisted cord mitten minder
To make your no knit mitten minder, follow these super easy six steps. You can also watch each step in my quick tutorial video below.
Step 1: Start with three strands of yarn all – all of them should be the same length – about three times the length you want your mitten minder. Knot together the three strands at either end and then tie each end around a knitting needle.
Step 2: Place one of the knitting needles somewhere it will stay put. I like to place mine down the side of the sofa but you could also get someone to hold it for you.
Step 3: Twist the other knitting needle round and round so it starts to twist the yarn. Keep twisting until it is folding back on itself. You want the yarn to be very twisted until it feels like it can’t take any more twisting. The more twisting you do, the less loose and more secure your cord will be.
Step 4: Stretch out the cord as long as it will go, place your finger in the centre and fold the length of twisted yarn in half, letting it twist itself up.
Step 5: Tie a knot at both ends of the twisted length of yarn about 1 inch in from the ends. You can then trim both of the ends to neaten them up.
Step 6: Secure to the inside of your mittens.
How long should a mitten minder be?
To work out how long a mitten minder should be, I recommend measuring a coat or top of the person who the mitten minder is for. Measure from one cuff, across the chest and all the way across the other cuff. Then add an extra 10-15cm depending on how much you’d like them to hang.
If you can’t measure an item of the person’s clothing because you are gifting, then I suggest using the Craft Council’s size guides. They have a baby size guide and a children’s size guide. To work out the required length of a mitten minder, find the age you are making one for and add up the arm length to underarm measurement (x 2) plus the cross back measurement. This should give you your best chance of making an accurate mitten minder length.
And to finish off, a word on safety. At the end of the day, this is a cord and should be treated with care when in use. Ensure it is not twisted around a child when being worn. Make sure the cord is not too long and if it is, it is easy enough to tie a couple more knots further in from the ends and cut length off both ends.
This page contains affiliate links, which earn me a little bit of commission if you make a purchase, at no additional cost to you.